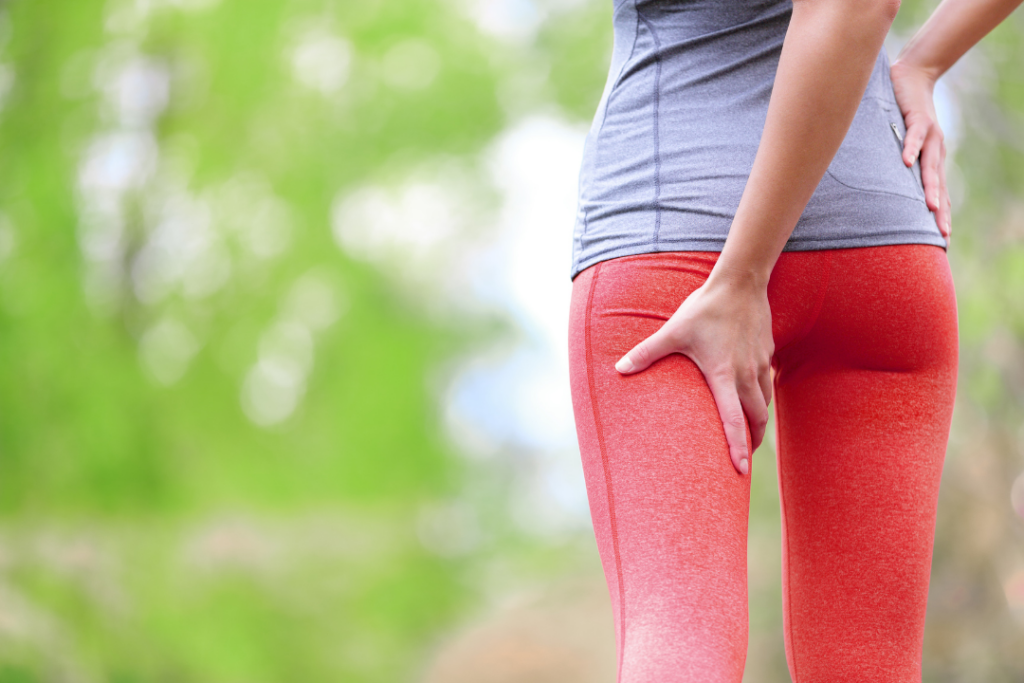
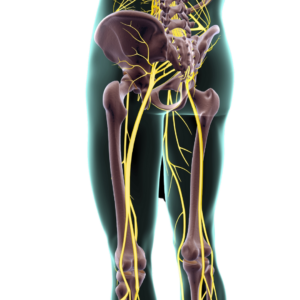
 Sciatica is a condition that affects the sciatic nerve, which is the longest nerve in the body.
It runs from the lower back down to the legs and feet. Sciatica can cause pain, numbness, tingling, and weakness in these areas. In this blog post, we will discuss the causes, signs and symptoms, and discuss a few stretches you can do at home to alleviate the pain.
Causes of Sciatica
Sciatica can be caused by a variety of factors, including:
- Herniated Disc: A herniated disc occurs when the soft inner part of a disc in the spine protrudes through the tough outer layer and presses on a nerve root.
- Spinal Stenosis: Spinal stenosis is a narrowing of the spinal canal that puts pressure on the nerves traveling through the spine.
- Degenerative Disc Disease: This condition involves the breakdown of the spinal discs that cushion the vertebrae, leading to nerve compression.
- Spondylolisthesis: This is a condition in which one vertebra slips forward over the one below it, causing nerve compression.
- Piriformis Syndrome: This is a condition in which the piriformis muscle in the buttocks compresses the sciatic nerve.
Signs and Symptoms of Sciatica
The signs and symptoms of sciatica can include: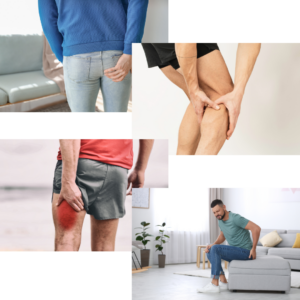
- Pain starting in the lower back which can radiate down your buttocks, the back of your legs, and even into the feet. The apin can feel sharp or dull.
- The feeling of numbness, tingling, and weakness in the affected areas are also common.
- Pain that worsens with sitting or standing for long periods.
- Difficulty walking or standing due to pain and weakness.
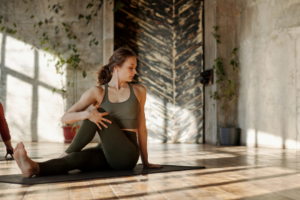
4 Stretches to alleviate sciatic pain
1. Sitting Spinal Stretch
- Start by sitting on the ground with your legs extended in front of you, and your spine tall and straight. You can place a folded towel or blanket under your hips to help elevate them if it’s more comfortable.
- Cross your right leg over your left knee, and place your right foot flat on the ground. You can use your hands to gently pull your right knee towards your chest to deepen the stretch.
- Slowly twist your torso towards your right knee, placing your left elbow on the outside of your right knee. You can use your elbow to gently press against your knee, and your right hand can be placed on the ground behind you to support your spine.
- Hold this position for 30 seconds, breathing deeply and trying to relax into the stretch. You should feel a gentle stretch in your lower back and hip area.
- Release the stretch and repeat on the other side by crossing your left leg over your right knee and twisting towards the left knee with your right elbow.
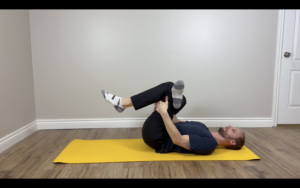
2. Figure 4 stretch
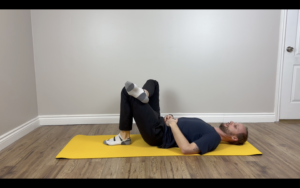
- Start by lying comfortabkle on your back with both legs bent.
- Place your right leg on top of your left thigh (see left picture).
- Grab your lef thigh with both hands and pull it gently toward your chest (see right picture).
- To increase the stretch further, slowly push the right knee away from you (toward your feet).
- Hold the end position for at least 30 seconds then switch sides.
3. Forward Pigeon pose
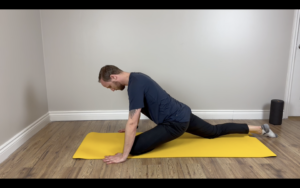
- Begin in a tabletop position on your hands and knees.
- Bring your left knee forward and place it behind your left wrist. Your left ankle should be in front of your right hip.
- Slowly slide your right leg back behind you, straightening your knee and lowering your right hip to the ground. Your right leg should be extended behind you, with the top of your foot resting on the ground.
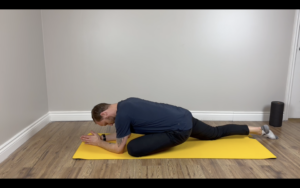
- Inhale and lift your chest, then exhale and fold forward over your left leg. Keep your arms extended in front of you or rest them on the ground (see right picture).
- Stay in the pose for 5-10 breaths, then slowly come back up to tabletop position and switch sides.
Some tips for performing the Forward Pigeon Pose:
- If your hips are tight, use a pillow or blanket under your right hip to make the pose more comfortable.
- If you have knee problems, be sure to place a blanket or cushion under your right knee.
- Don’t force yourself into the pose. Ease into it gradually, and only go as far as feels comfortable for you.
- Keep your hips level and square to the front of the mat. Don’t let your right hip lift up or your left hip drop down.
4. Knee to opposite shoulder

- Lie down on your back with your legs extended in front of you.
- Bend your right knee and bring it towards your chest.
- Place your right hand on your right knee and gently pull it towards your left shoulder.
- Keep your left leg extended on the ground and your left foot flexed.
- Hold the stretch for 5-10 breaths, then release and switch sides.